웹 페이지에 방문했을 때 사용자는 통상적으로 문서 상단에 위치한 콘텐츠를 먼저 접하게 됩니다. 때로는 페이지의 특정 부분으로 이동해야 하는 경우가 필요한데요, 해시 링크를 사용하면 페이지의 특정 부분으로 바로 이동이 가능합니다. 특히 기술 문서나 기술 블로그처럼 구조화된 콘텐츠를 다룰 때 특정 섹션으로 직접 접근이 가능한 점, 스크린 리더에 의존하는 사용자들을 위해 접근성을 개선할 수 있는 점, 페이지의 특정 섹션을 url로 공유할 수 있는 점 등을 이유로 유용하게 사용됩니다.
최근 제목과 부제목이 여러 개 있는 글을 쓰면서 독자에게 콘텐츠를 쉽게 파악하고 탐색할 수 있도록 목차와 해시 링크를 추가하게 되었는데요, 이번 글에서는 문서에 해시 링크를 생성하는 방법과 적용기에 대해 알아봅니다.
1.1 해시 링크
해시 링크
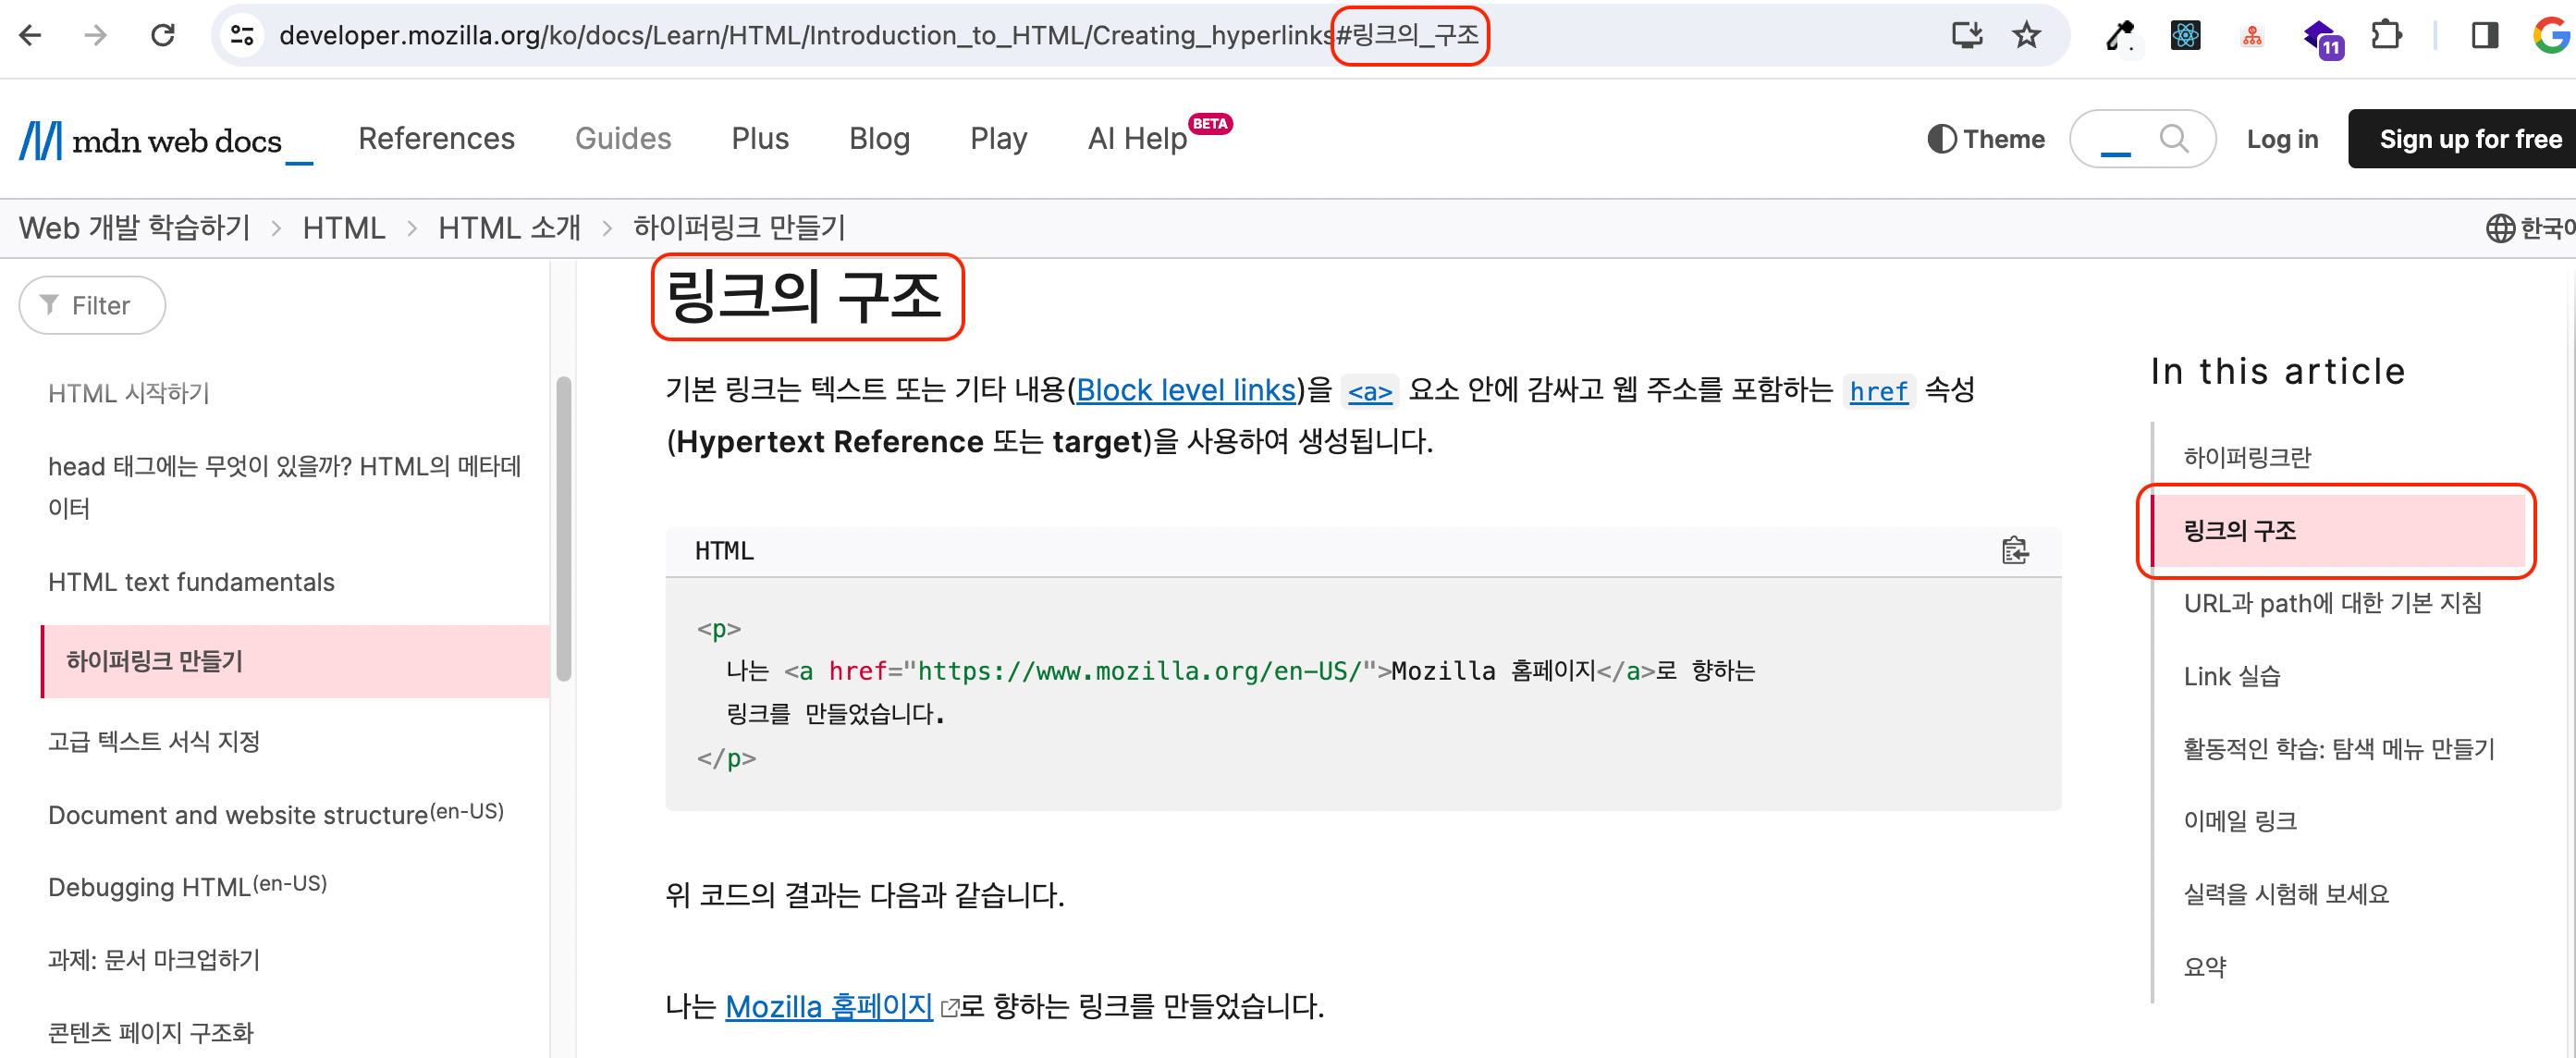
링크 태그의 href 속성에 해시 문자(#)와 함께 id값을 명시하면 브라우저는 해당 id를 갖는 요소의 위치로 페이지를 스크롤합니다.
index.html1<a href="#section-id">특정 섹션으로 이동</a>
2
3<h2 id="section-id">이동할 섹션</h2>
블로그에 적용하기
본 블로그는 정적 사이트 생성기로 빌드 타임에 각 페이지를 생성하는데요, _posts 폴더에서 관리하는 마크다운 파일을 읽고 마크다운 파서로 콘텐츠를 화면에 그립니다.
[postId].tsx1interface PostPageProps {
2  content: string;
3}
4
5const PostPage = ({ content }: PostPageProps) => {
6  return <Reactmarkdown components={}>{content}</Reactmarkdown>;
7};
8
9export const getStaticProps = async ({
10  params,
11}: GetStaticPropsContext<PostParams>) => {
12  const { content } = await getPostById(params.postId);
13
14  return {
15    props: { content },
16  };
17};
getPostById.tsx;1export const getPostById = async (id: string) => {
2  const postsDir = join(process.cwd(), '/src/_posts');
3  const filePath = join(postsDir, `${id}.md`);
4  const metaData = fs.readFileSync(filePath, 'utf8');
5
6  const { content } = matter(metaData);
7
8  return {
9    content,
10  };
11};
링크 컴포넌트 생성
React-markdown과 같은 마크다운 파서는 HTML 요소들을 커스텀 컴포넌트로 사용할 수 있게 지원하는데요, 해시 링크 컴포넌트를 각 heading 태그와 매핑되는 컴포넌트로 정의할 수 있어요.
[postId].tsx1const PostPage = ({ content }: PostPageProps) => {
2  const customComponents = {
3    h1: props => <h1 {...props} />,
4    h2: props => <h2 {...props} />,
5    h3: props => {
6      console.log('props : ', props);
7      return <h3 {...props} />;
8    },
9  };
10  return <Reactmarkdown components={customComponents}>{content}</Reactmarkdown>;
11};
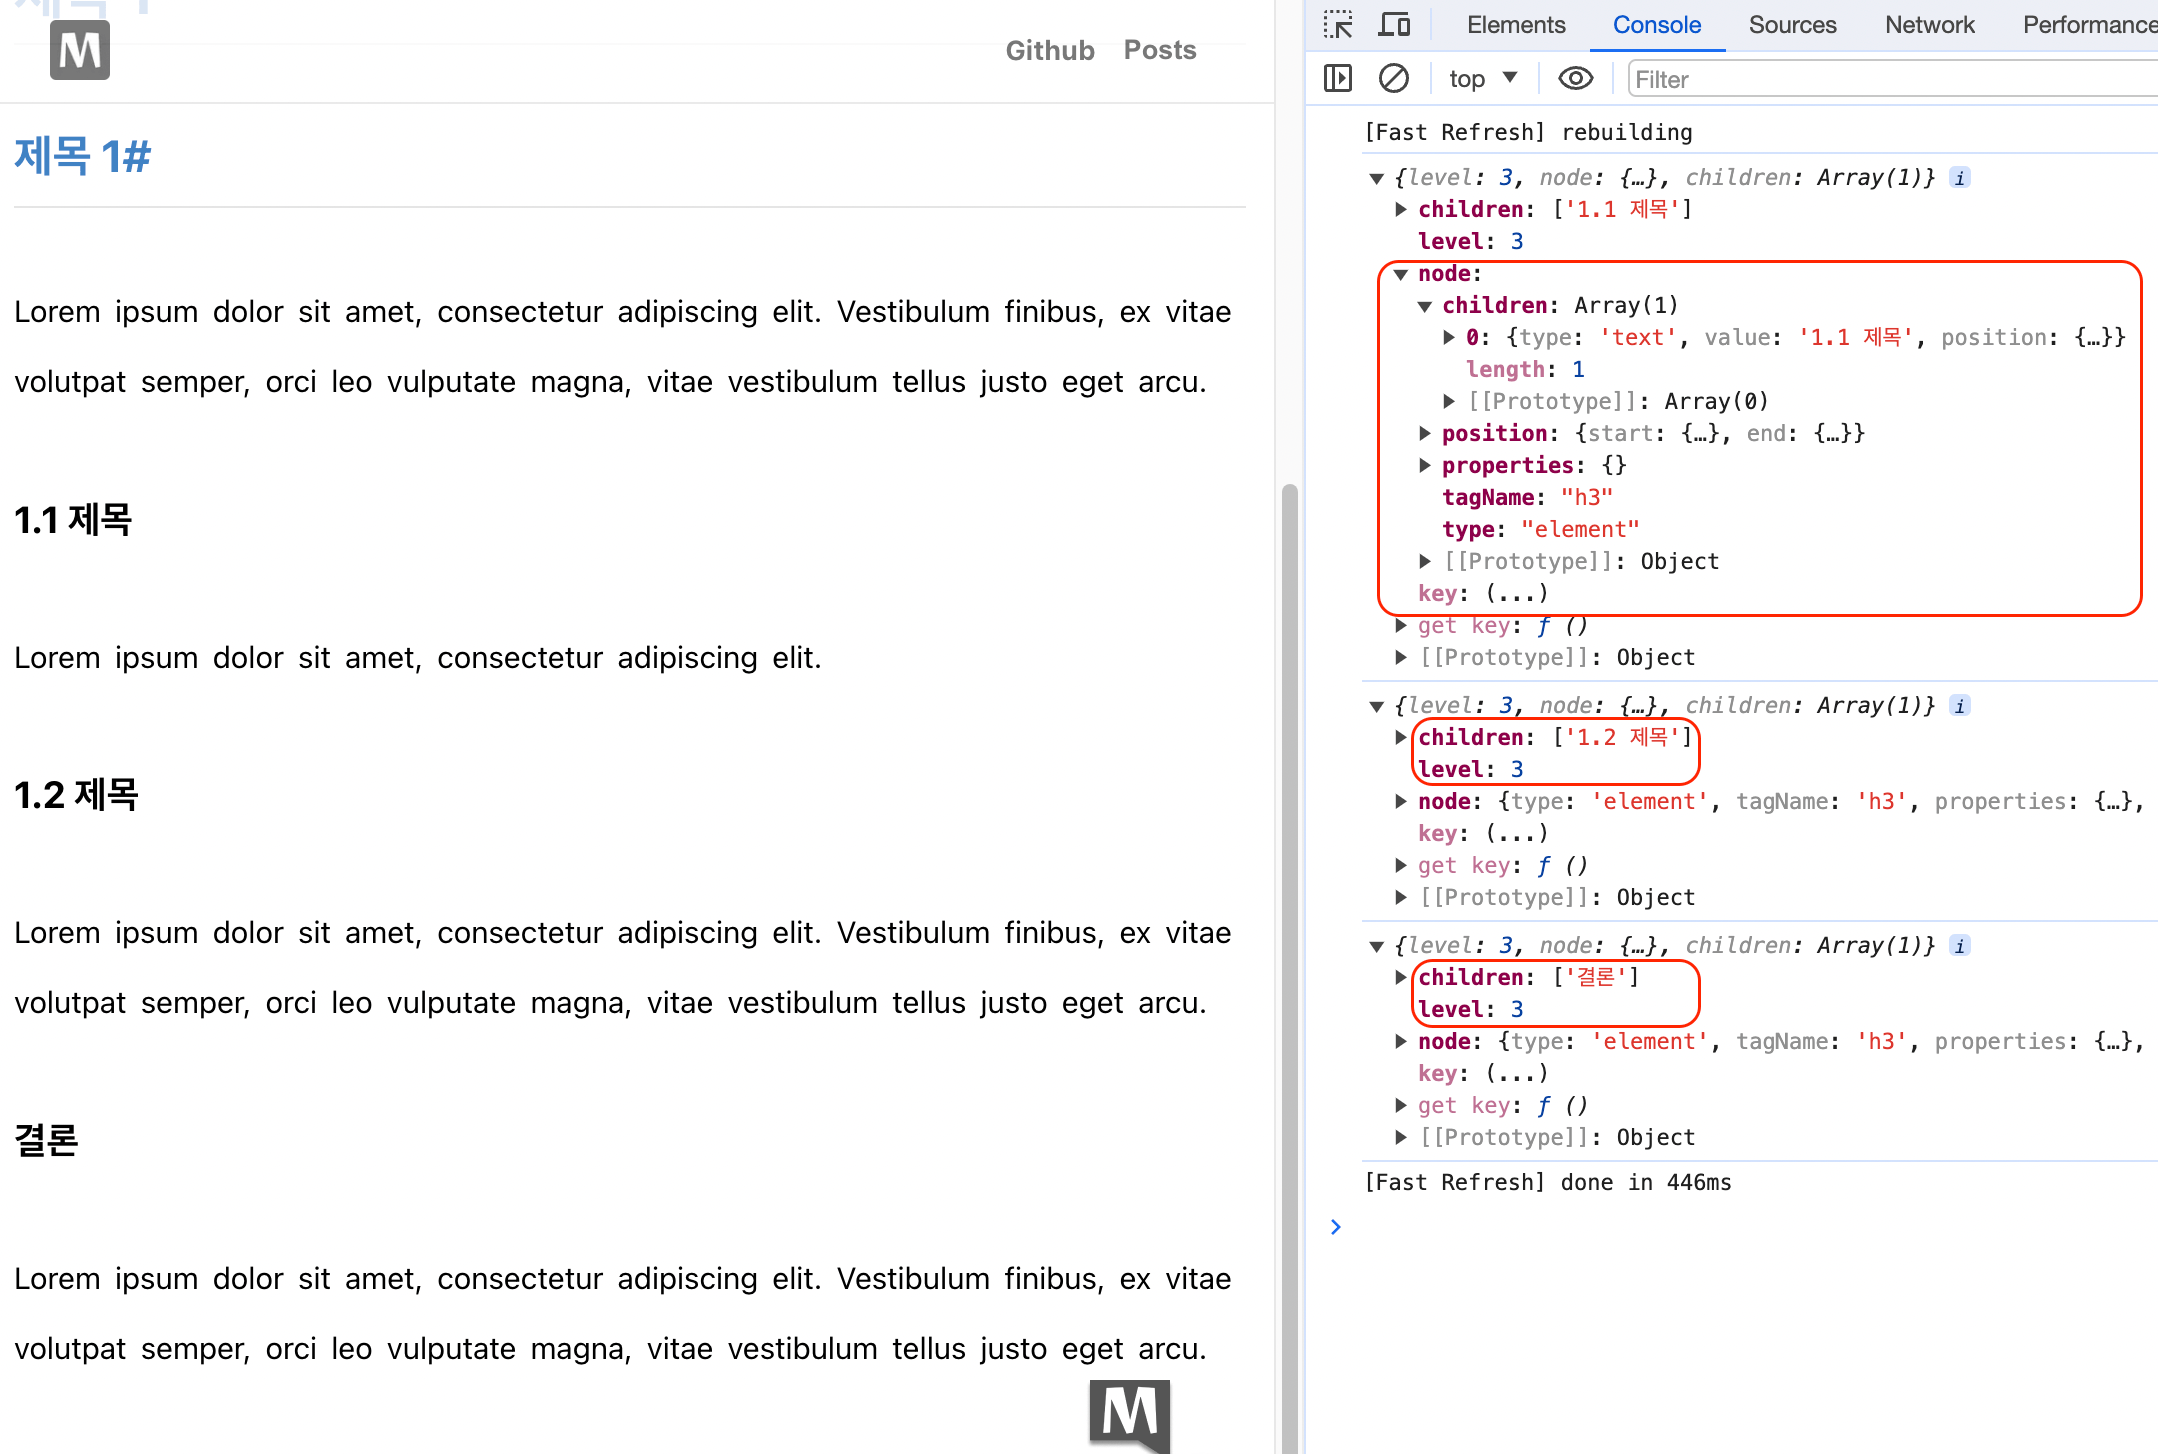
마크다운을 파싱하고 전달되는 props를 출력해 보면,
1.2 heading 요소 props
heading 요소가 h1, h2, h3, h4, h5, h6인지를 나타내는 level, 제목의 문자열인 children 그리고 요소에 대한 정보가 담긴 node가 반환됩니다. 앞서 요소를 해시 링크로 만들기 위해서는 id와 href 속성이 필요하다고 했는데요, level과 children을 가공해 id와 href로 사용해 보겠습니다.
children을 slug 형태인 문자열로 변환한 후 해시 링크의 id로 주고,
[postId].tsx1const convertToSlug = (str: string) => {
2  return decodeURI(str).toLowerCase().trim().replaceAll(' ', '-');
3};
4// ..
5h1: ({ level, children }) => (
6  <a id={convertToSlug(children.join())}>
7    <h1>{children.join()}</h1>
8  </a>
9);
해시 문자를 추가해 href로 사용합니다.
[postId].tsx;1h1: ({ level, children }) => (
2  <a id={convertToSlug(children.join())} href={`#${children.join()}`}>
3    <h1>{children.join()}</h1>
4  </a>
5);
각 h1, h2, h3와 매핑되는 해시 링크 컴포넌트를 아래와 같이 사용할 수 있는데요,
[postId].tsx1interface HeadingProps extends HTMLAttributes<HTMLHeadingElement> {
2  children: string[];
3}
4
5const convertToSlug = (str: string) => {
6  const slug = decodeURI(str).toLowerCase().trim().replaceAll(' ', '-');
7  return slug;
8};
9
10const PostPage = ({ content }: PostPageProps) => {
11  const customComponents = {
12    h1: ({ children, ...rest }: HeadingProps) => (
13      <a id={convertToSlug(children.join())} href={`#${children.join()}`}>
14        <h1 {...rest}>{children.join()}</h1>
15      </a>
16    ),
17    h2: ({ children, ...rest }: HeadingProps) => (
18      <a id={convertToSlug(children.join())} href={`#${children.join()}`}>
19        <h2 {...rest}>{children.join()}</h2>
20      </a>
21    ),
22    h3: ({ children, ...rest }: HeadingProps) => (
23      <a id={convertToSlug(children.join())} href={`#${children.join()}`}>
24        <h3 {...rest}>{children.join()}</h3>
25      </a>
26    ),
27  };
28  return <Reactmarkdown components={customComponents}>{content}</Reactmarkdown>;
29};
level과 props를 전달해 컴포넌트로 리팩토링할 수 있겠네요.
[postId].tsx1const PostPage = ({ content }: PostPageProps) => {
2  const customComponents = {
3    h1: props => <HeadingComponent level={1} {...props} />,
4    h2: props => <HeadingComponent level={2} {...props} />,
5    h3: props => <HeadingComponent level={3} {...props} />,
6    // h4 : ..
7    // ..
8  };
9
10  return <Reactmarkdown components={customComponents}>{content}</Reactmarkdown>;
11};
해시 링크를 추가하고 실행해 보면 다음과 같은데요,
1.3 해시 링크 적용
스크롤 동작과 스크롤 위치 조정
해시 링크로 이동했을 때 다소 정적인 느낌이 있어서 페이지 내에서 부드럽게 이동하고 문서 상단의 header와 겹치지 않게 스크롤 위치를 조정해 보겠습니다.
HeadingComponent.tsx1export const HeadingComponent = ({ level, children, ...props }) => {
2  const content = children.join();
3  const slug = convertToSlug(content);
4  const Tag = `h${level}`;
5  const hashLink = `#${slug}`;
6
7  const onScrollWithOffset = e => {
8    e.preventDefault();
9
10    const elementWithHashLink = document.getElementById(slug); // 제목 요소
11    if (elementWithHashLink) {
12      const yOffset = -60; // 고정 offset 또는 동적으로 offset 계산
13      const yPosition =
14        elementWithHashLink.getBoundingClientRect().top +
15        window.pageYOffset +
16        yOffset;
17
18      window.scrollTo({ top: yPosition, behavior: 'smooth' });
19    }
20  };
21
22  return (
23    <a id={slug} href={hashLink} onClick={onScrollWithOffset}>
24      <Tag {...props}>{content}</Tag>
25    </a>
26  );
27};
1.1 해시 링크 적용
페이지의 특정 부분에 빠르게 접근하고 해당 섹션을 URL로 손쉽게 공유할 수 있도록 각 제목 요소에 해시 링크를 추가해 봤는데요, 페이지가 구조화된 콘텐츠로 구성된 경우 목차랑 같이 사용하면 더욱 사용자 친화적인 환경을 제공할 수 있습니다.